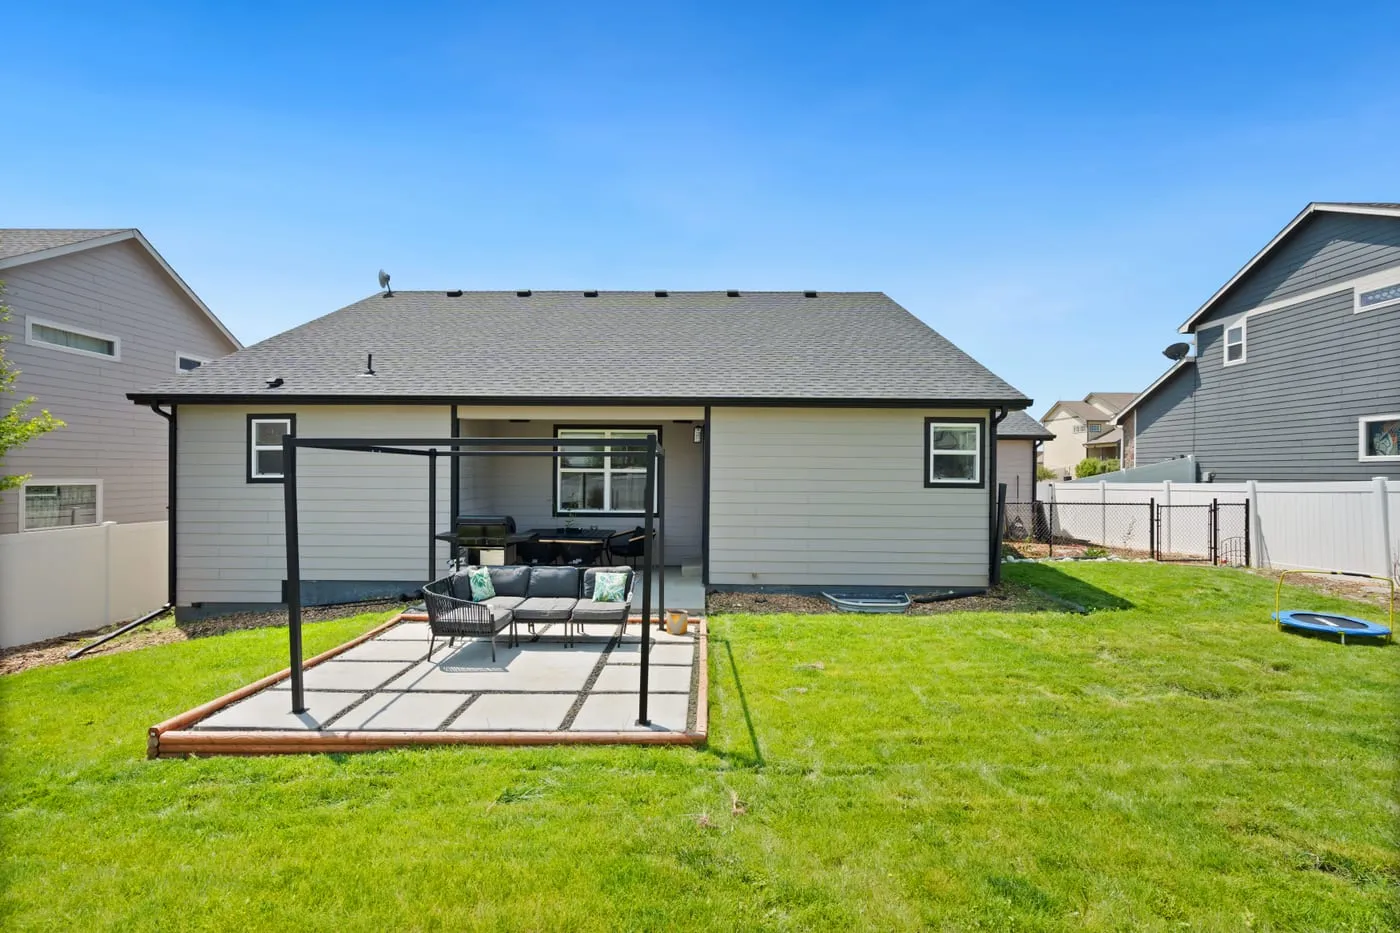
If there’s one thing that defines Australian outdoor life, it’s the BBQ. It’s where the weekend actually begins, where friends gather without being asked twice, and where the best conversations happen. According to the NSW Planning Portal, built-in outdoor kitchens with gas fittings or structural changes may require a building permit, so it pays to check before you commit to a design. This post walks you through exactly what works, what to spend, and what to skip.
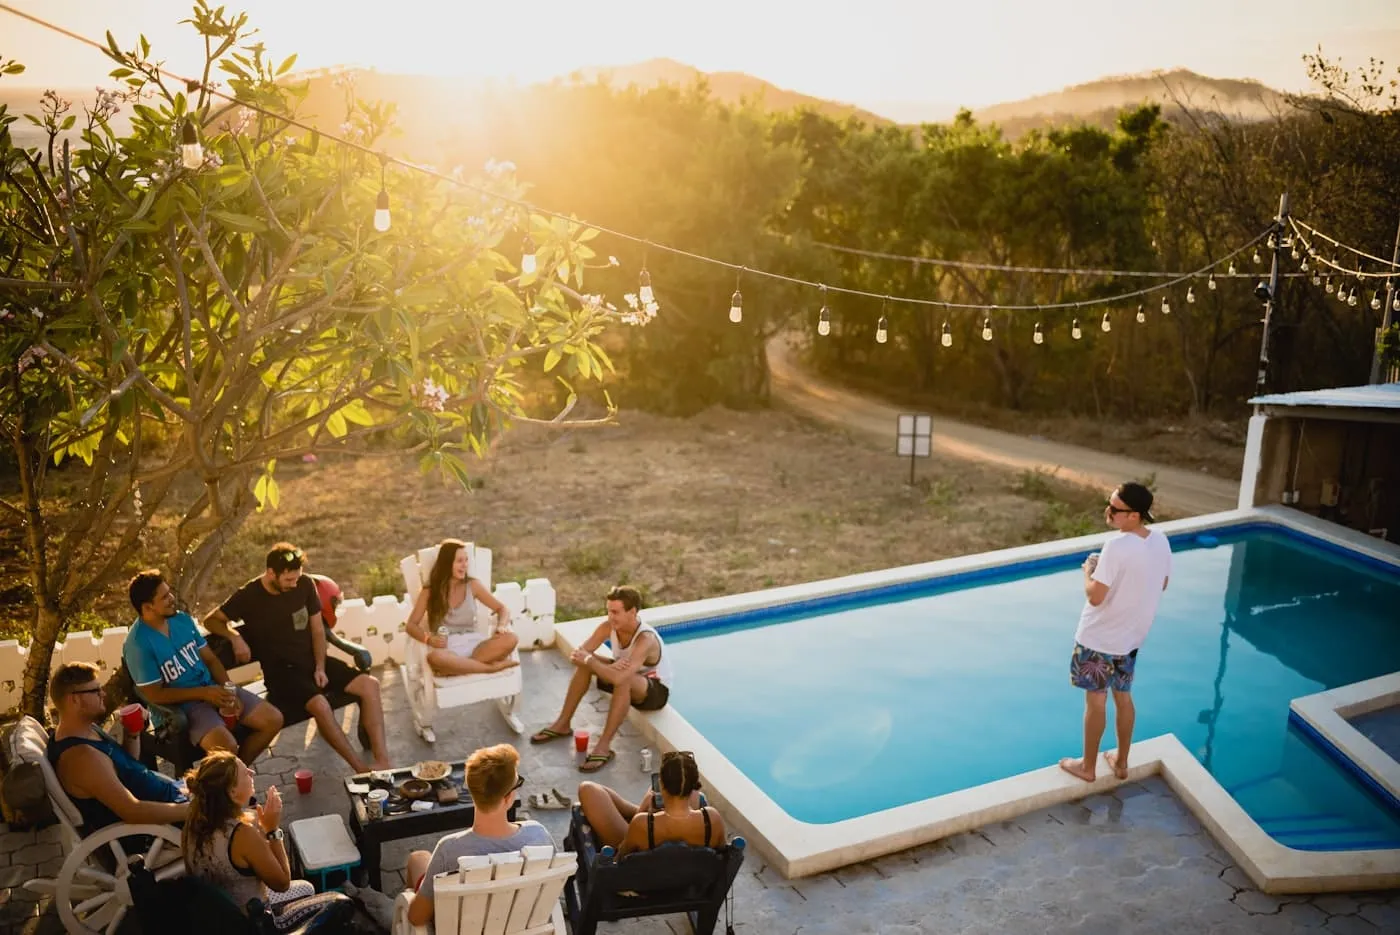
01.Start with the Right BBQ Setup for Your Space
The first decision shapes everything else. A freestanding BBQ suits renters, smaller yards, and anyone who wants flexibility without committing to a build. A built-in kitchen suits homeowners who entertain regularly and want a permanent outdoor cooking station that adds real property value.
Start with a freestanding setup if you’re new to outdoor entertaining. You’ll quickly learn what you actually need: how much bench space, where you want the fridge, whether a side burner matters. That information makes any future built-in project far more considered and far less expensive to fix after the fact.
Key point: A quality four-burner freestanding gas BBQ from Weber or BeefEater runs ~$700–$2,000 AUD and handles everything a built-in kitchen does for cooking.
02.Choose the Right BBQ Brand for Australian Conditions
Not every BBQ sold in Australia is built for Australian conditions. Coastal humidity, UV exposure, and wide temperature swings take a real toll on cheaper units within two or three seasons.
The brands that hold up best are the ones with solid stainless steel construction and proper burner warranties. BeefEater is Australian-owned and genuinely built for our climate. Weber backs their grills with a ten-year warranty and has excellent local support. Everdure by Heston is the premium design-forward option if aesthetics matter as much as performance. For budget-conscious setups, the Matador range at Bunnings is a solid entry point.
Key point: BeefEater and Weber are the two brands to back for longevity in an Australian backyard. Both have dealer networks across the country for parts and service.
03.Plan Your Layout Before You Buy Anything
Position is everything in a BBQ area. Get it wrong and you’ll spend every cook waving smoke away from your guests or walking across the yard to grab a sauce from the kitchen.
Four rules to follow every time: position the BBQ downwind of your main seating, keep it close to the house for easy supply runs, place it near a power point for lighting and a bar fridge, and get it under cover if you can. Cooking under a pergola on a summer evening is one of the great pleasures of Australian outdoor life. Cooking in a January downpour with no shelter is not.
Key point: A ~$150 AUD compass check and an afternoon spent watching how your space gets afternoon wind will save you from a poorly positioned built-in that’s expensive to move.
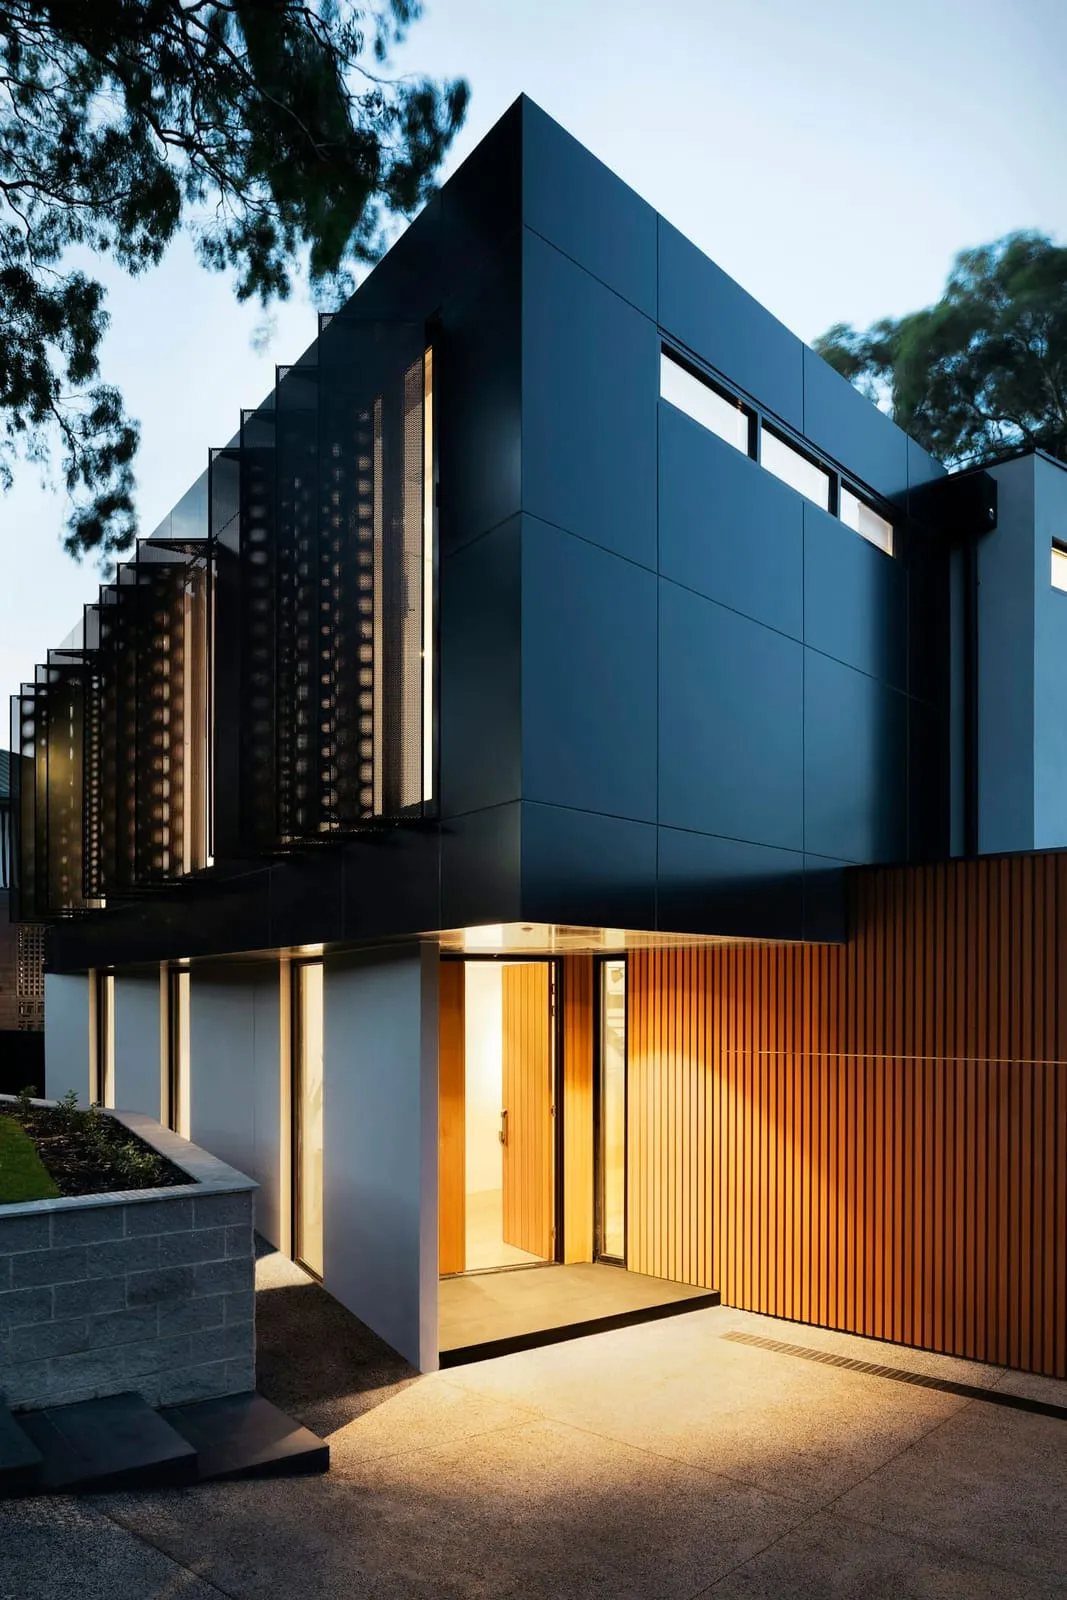
04.Build In a Proper Prep Bench
One of the most common mistakes in backyard BBQ setups is not enough bench space. People spend two thousand dollars on a beautiful BBQ and then prep everything on a plastic folding table two metres away. The prep bench is not optional.
For a freestanding setup, a stainless steel outdoor bench from Bunnings runs ~$200–$450 AUD and is genuinely weatherproof. For a built-in kitchen, the benchtop material is where the budget goes, and for good reason. Porcelain slab and bluestone are the two best performers in Australian outdoor conditions. Both handle UV, salt air, heat, and rain without sealing or fussing.
Key point: Aim for at least 900mm of bench space on either side of the BBQ. It sounds generous until you’re managing four different dishes at once.
05.Add a Built-In BBQ or Pizza Oven for the Full Kitchen Effect
If you’re going the built-in route, the BBQ or pizza oven is the centrepiece. Barbeques Galore has one of the widest ranges of built-in outdoor kitchen setups in Australia, with both modular cabinetry and custom options.
Pizza ovens have genuinely taken off in Australian backyards. A wood-fired oven creates a social focal point that a gas BBQ simply can’t match. For a similar evening-gathering focal point that extends into cooler months, a fire pit is the natural companion to any outdoor BBQ zone. It’s also surprisingly versatile: bread, slow-cooked lamb shoulder, roasted capsicums. The social ritual of everyone gathering around a glowing oven while it reaches temperature is hard to replicate with anything else.
Key point: A quality freestanding pizza oven like the Ooni Karu or a BeefEater built-in model runs ~$500–$3,500 AUD. Built-in outdoor kitchens with BBQ, sink, and storage start from ~$8,000 AUD installed. Always check with your local council before starting a built-in project involving gas fittings or structural work.
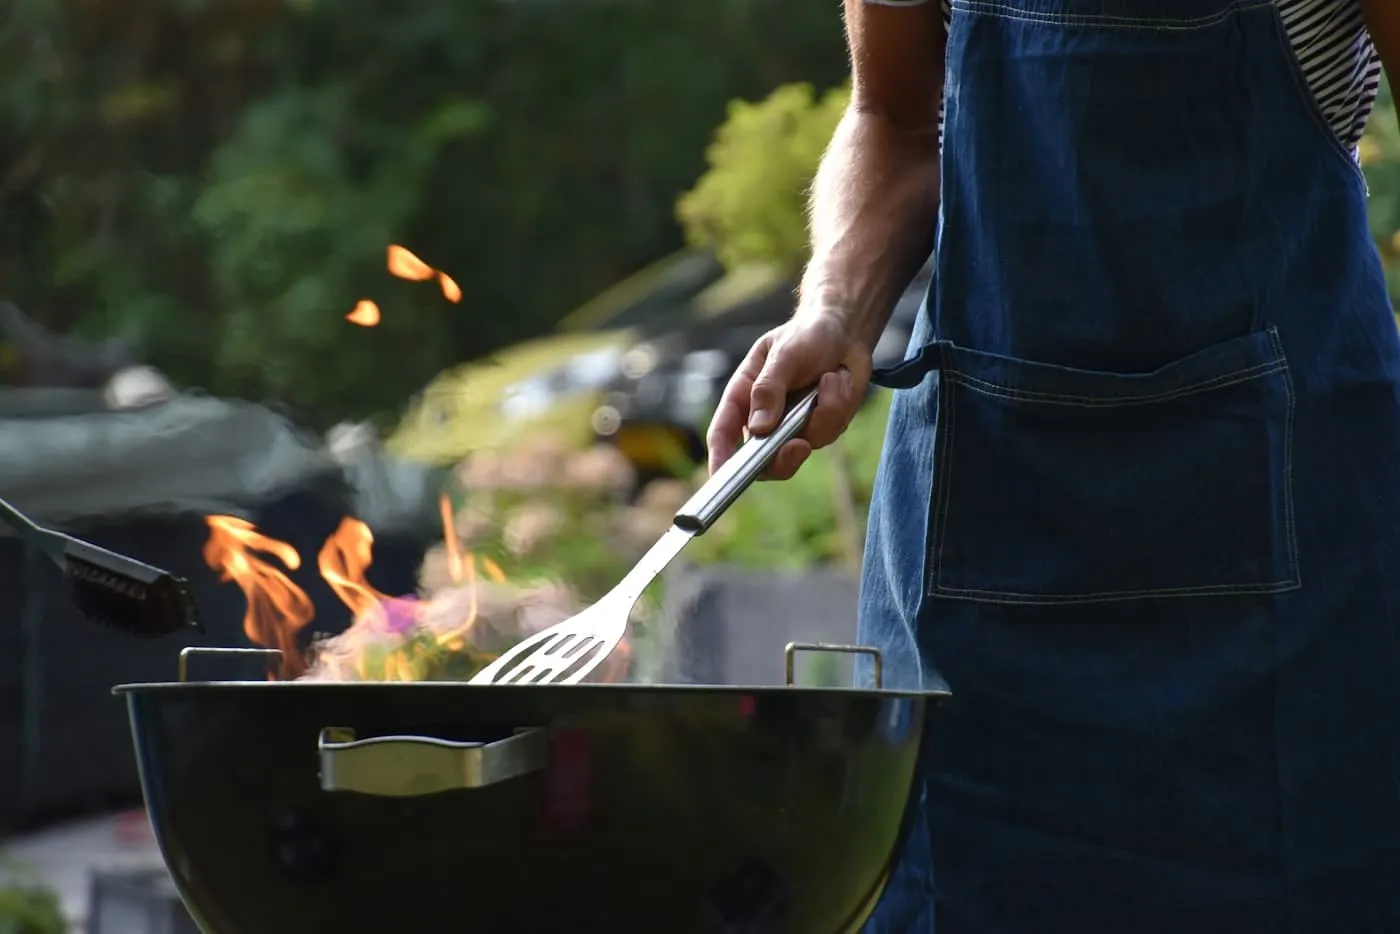
06.Install Under-Bench Storage That Handles the Weather
Outdoor kitchen cabinetry fails faster than anything else in a backyard if you choose the wrong material. Timber rots. MDF swells. Even some powdercoated finishes bubble in coastal conditions within a few years.
Marine-grade stainless steel or powder-coated aluminium are the only two materials worth using for outdoor kitchen cabinetry in Australia. Both handle coastal salt air, UV, and temperature cycling without warping or corroding. The initial cost is higher, but you’re not replacing the whole kitchen in five years.
Key point: Marine-grade stainless cabinetry for an outdoor kitchen runs ~$1,200–$3,000 AUD per linear metre installed. It’s a significant spend, but it’s the last time you’ll buy outdoor kitchen storage.
07.Add a Bar Fridge or Wine Fridge Within Arm’s Reach
Nothing interrupts the flow of entertaining faster than walking inside every time someone wants a drink. An outdoor bar fridge positioned at the BBQ area keeps drinks, marinades, sauces, and prepped ingredients cold and within reach.
Look for a fridge rated for outdoor or “extreme” use: standard kitchen bar fridges aren’t designed to handle the temperature swings between a hot Australian afternoon and a cold winter night. Barbeques Galore stocks a good range of outdoor-rated fridges. Budget for ~$400–$900 AUD for a quality under-bench outdoor bar fridge. A wine fridge is a lovely addition if you entertain often, but the bar fridge earns its keep every single weekend.
Key point: An outdoor-rated bar fridge (~$400–$900 AUD) is one of the highest-return additions to any BBQ area. It removes the main friction point in outdoor entertaining.
08.Get the Lighting Right Over the Cooking Surface
Task lighting directly over the BBQ is non-negotiable. You cannot see what you’re cooking. You will overcook things. It’s frustrating and avoidable.
An outdoor-rated pendant or track light positioned directly over the cooking surface is the best solution. Pair it with ambient lighting, whether string lights, in-ground spots, or wall-mounted lanterns, to create a properly lit entertaining zone. The cooking area needs task light. The seating area needs mood light. They’re different jobs.
Key point: A good outdoor pendant light over the BBQ runs ~$80–$250 AUD. A licensed electrician should handle any new outdoor power points or fixed lighting runs.
09.Add a Splashback Behind the BBQ
A splashback behind the cooking surface does two things: it protects the wall from grease and heat, and it makes the BBQ area look genuinely finished rather than improvised. It’s one of the lowest-cost, highest-impact styling additions in an outdoor kitchen.
Stainless steel sheet is the most practical option: it wipes clean, handles heat, and is available cut-to-size from most metal suppliers for ~$100–$300 AUD. Feature tile works beautifully if you want more visual interest. Natural stone slab is the premium option and looks exceptional behind a built-in BBQ. Whatever you choose, make sure it’s rated for outdoor and heat exposure.
Key point: A stainless steel splashback cut to size runs ~$100–$300 AUD and takes a Saturday afternoon to install. It’s the finishing touch that makes a BBQ area look intentional.
10.Style It with Herbs, Music, and the Small Details
A functional BBQ area and a beautiful one are not the same thing. The styling layer is what makes the space feel like somewhere you actually want to spend time, not just a place you cook.
Fresh pot herbs on the bench (rosemary, thyme, basil) look great and get used constantly. A good outdoor-rated speaker from JBL or similar makes cooking more enjoyable. A hose connection nearby for clean-up is practical enough to feel like a luxury once you have it. And a small chalkboard or menu panel on the wall is the kind of personal touch that guests notice and remember.
Key point: Pot herbs, a speaker, and a hose connection cost under ~$150 AUD combined and transform how the space feels to use. Don’t skip the small details.
11.Start Here: Priority Order
| Priority | Action | Approx. Cost |
|---|---|---|
| 1 | Check council requirements for your outdoor kitchen | Free |
| 2 | Choose and position your BBQ or fire feature | ~$300–$2,000 AUD |
| 3 | Install adequate prep bench space alongside | ~$200–$800 AUD |
| 4 | Add task lighting over the cooking area | ~$80–$300 AUD |
| 5 | Style with splashback, herbs, and outdoor speaker | ~$100–$300 AUD |
The BBQ area is the heart of Australian outdoor entertaining, and it deserves to be designed like it. Whether you’re starting with a freestanding Weber on a prep trolley or building a full outdoor kitchen from scratch, getting the layout, lighting, and finishing details right will transform how much you use the space. Start with the priority order above, get your council check out of the way early if you’re going built-in, and build from there. This is the one upgrade that pays back every single weekend from December through to April, and honestly most weekends in between.
Related reading: